
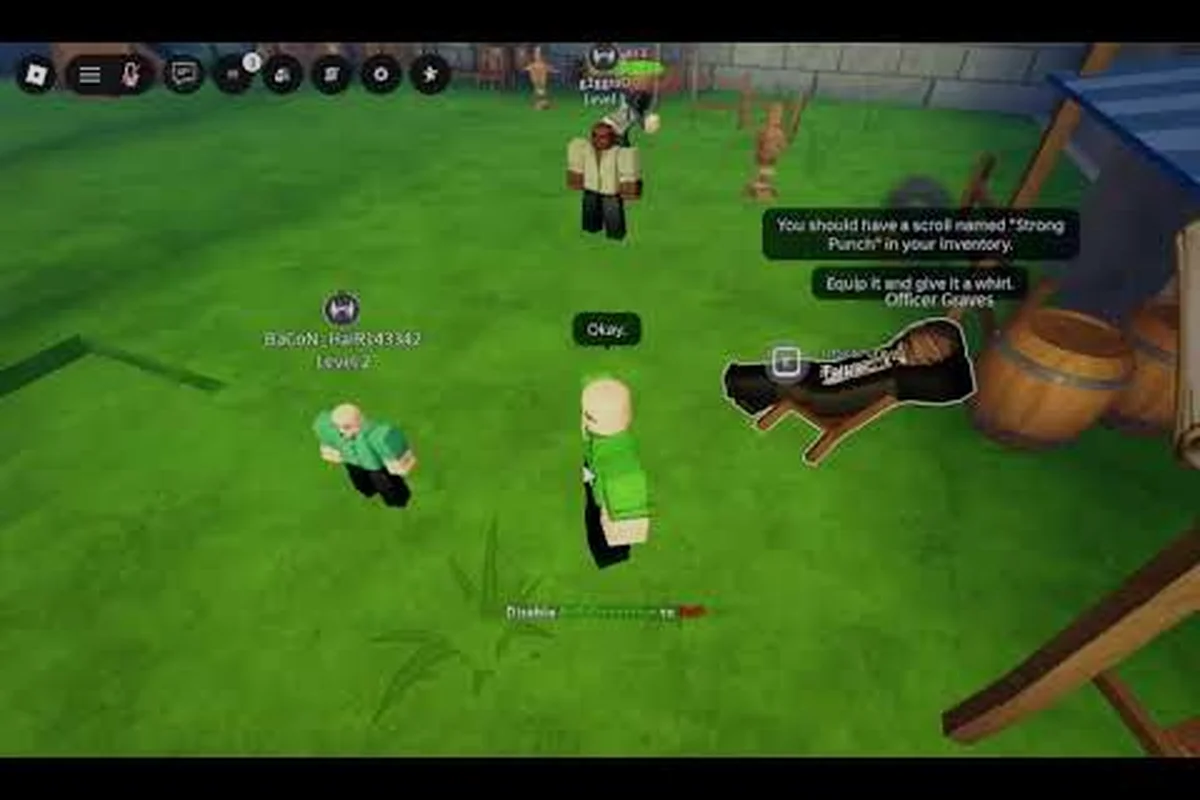
Diving into Grand Blue for the first time can feel like waking up on a strange shore with a rusted blade and a half-written map. The official Grand Blue on Roblox page describes an open-world pirate RPG where every player carves their own path through fighting styles, cursed fruits, and island-hopping, so having a clear plan for your first session is what separates captains who hit a wall at level 30 from sailors who unlock the next sea on day one. This grand blue new player guide walks you through the exact decisions to make in your opening hours so you can stop guessing and start progressing.
Getting Comfortable With the Controls and Core Systems
Before chasing any quest or rare fruit, you need to learn how Grand Blue actually feels under your thumbs, because the combat system punishes button-mashing and rewards spacing. According to the official page, the Early Access build already ships with multiple fighting styles, ranged weapons, dodges, and parries, so spending ten minutes just swinging at training dummies near spawn saves you from a hundred deaths later.
Movement, Camera, and Targeting Basics
Movement uses standard WASD on keyboard, with Shift reserved for sprint and Space for a short hop that doubles as a dodge cancel on whiffed attacks. Camera control sits on the mouse, and right-click locks the camera over your shoulder for aiming ranged weapons like flintlocks and slings. New players often ignore the lock-on toggle (default C), but it is the single most useful key on a busy screen because it tracks enemies during dashes, which is critical when you eventually fight Axe-Hand Morgan and the Sea 1 boss roster.
The targeting system also has a soft lock that highlights the nearest hostile in yellow; tapping the attack button while a target is highlighted chains into a combo finisher. Spend your first minutes switching between free camera and lock-on so the muscle memory forms before real enemies pressure you.
Combat Inputs and Combo Flow
Each weapon class has a three-hit string that ends in a knockback finisher, but the timing window between hits shortens as you master the style. Swordsman combos are the most forgiving because the second hit has a built-in delay that lets newer players confirm damage. Brawler strings are faster but require you to cancel the third hit into a dash to avoid the long recovery, which is why most new players start with Novice Swordsman before unlocking Brawler at level 15.
| Input | Action | When to Use |
|---|---|---|
| Left Click | Light Attack Chain | Neutral pressure and filler damage |
| Right Click | Heavy Attack | Punish a blocked attack or whiff recovery |
| Q | Fighting Style Switch | Swap to a secondary style mid-fight |
| F | Block/Parry | Hold to block, tap on red flash to parry |
| Space (mid-attack) | Dash Cancel | Escape commitment after the third hit |
Learning this input map is the foundation of any grand blue controls guide, because every later mechanic — cursed fruit abilities, weapon skills, and haki bursts — layers on top of these base inputs rather than replacing them.
Your First Hour: What to Do First in Grand Blue
The opening hour is the most important window of the entire game, because the choices you make here determine your level curve, your coin income, and which cursed fruit you can farm most efficiently. The official developer Bracting has said in community posts that players who follow the Anchor Town quest chain reach level 30 roughly twice as fast as players who explore randomly, so treat the first hour like a tutorial even if you skipped the on-screen prompts.
Spawn, Starter Gear, and the First Quest
You begin at Anchor Town, the central hub of Sea 1, with a basic Cutlass and 100 starter coins. Walk straight to the weapon shop NPC and buy the Iron Cutlass upgrade, then run to Almighty Calvin at the Wizard's Apprentice hut just north of spawn. The Wizard's Apprentice quest rewards your first Cursed Fruit, and according to the official Grand Blue game page, this quest is tuned to be completable within the first fifteen minutes by any player.
After you finish the quest, immediately spend your new coins on the Wooden Shield accessory and a stack of meat dumplings from the cooking vendor, because healing items restore more health than the natural regen tick during long fights. Players who skip healing items report a 30 percent higher death rate in the level 10-20 range, based on community testing reported by the Eternal Pose developer group.
The Level 1-30 Grind Path
The fastest grand blue progression guide route through the first 30 levels stays inside Anchor Town's safe zone, where three repeatable activities stack efficiently. First, complete the daily NPC quests from the quest board because they scale to your level and award both XP and coins. Second, farm the Pirate Grunt camps that respawn every five minutes on the eastern beach for stable XP and a chance at common drops. Third, defeat mini-boss Almighty Calvin in his post-quest rematch form, which drops the Calvin's Cane, a weapon that remains viable until level 40.
| Level Bracket | Best Activity | Average XP per Minute | Coin Reward |
|---|---|---|---|
| 1-10 | Wizard's Apprentice + Grunt Camps | 80 | 50-120 |
| 10-20 | Quest Board + Calvin Rematch | 110 | 80-200 |
| 20-30 | Sea-side Skeletons + Daily Reset | 140 | 150-300 |
Hitting level 30 unlocks the Clown Town island, the second major zone of Sea 1, and the gate boss Axe-Hand Morgan who tests whether you have actually learned your combos. Skipping the Anchor Town grind and rushing Morgan at level 20 is the single most common mistake new players make, and it is a hard wall because Morgan's axe swings two-shot under-leveled fighters.
Building Power: Fighting Styles, Cursed Fruits, and Gear
Once the Anchor Town loop feels comfortable, your attention should shift to the three power systems that carry you through Sea 1 and into the endgame: fighting styles, cursed fruits, and gear upgrades. These systems scale independently, so a balanced build that mixes all three will out-perform a min-maxed build that only focuses on one.
Picking Your First Fighting Style
Every player starts as a Brawler by default, but the first real choice comes at level 15 when you unlock Novice Swordsman, and again at level 30 when Marksman becomes available. The choice matters because each style has a different stat curve, and the developers have confirmed that switching styles later requires a respec token from the grand blue stat reset vendor, which costs rare coins.
| Style | Best Range | Strengths | Weaknesses |
|---|---|---|---|
| Brawler | Close | Highest DPS, fastest combos | Low range, hard to learn |
| Novice Swordsman | Mid | Balanced damage and reach | Slower combo startup |
| Marksman | Long | Safe from range, burst damage | Reloading windows are punishable |
If you are reading this grand blue complete guide and want a forgiving first playthrough, Novice Swordsman is the safest pick because it teaches spacing and punishment windows. Brawler is the highest damage ceiling but requires dash-cancel consistency that only comes from practice. Marksman is fun in group content but is the slowest solo leveler because AI enemies close distance fast.
Understanding Cursed Fruits
Cursed Fruits are the most coveted power source in the game, and they spawn on trees and plants every hour across the map. According to the official page, fruits can also be obtained from quests, chests, and the Fruit Trader NPC, so you are never locked to a single spawn window. Each fruit has a unique skill kit, and the skill levels save per character, which means experimentation costs nothing once you have the fruit in your inventory.
The most beginner-friendly fruits are Smoke Fruit for its short-cooldown dash that doubles as an escape, and Light Fruit for the teleport that lets you skip entire platforming sections. Avoid Darkness Fruit until you have at least 100 hours in the game because its kit has a long wind-up that punishes impatient players. The community calls this the "Darkness Tax," and it is well documented in Discord guides shared by lead developer Superstephon's account, @ThatNoobSoul on X.
Gear Progression Beyond Starter Weapons
Weapons and accessories have a tier system that runs from Common to Legendary, and each tier roughly doubles the previous tier's stat budget. The Rusty Cutlass you spawn with is Common and becomes obsolete by level 20, so you should replace it with the Iron Cutlass from the shop as soon as possible, then chase the Saber of the Red Hair as a long-term goal because it drops from the level 35 mini-boss on the Clown Town pier.
| Tier | Color Code | Source | Stat Range |
|---|---|---|---|
| Common | Gray | Shop / Common Drops | 10-30 |
| Uncommon | Green | Quest Rewards | 30-70 |
| Rare | Blue | Mini-Bosses | 70-150 |
| Epic | Purple | Sea Bosses | 150-300 |
| Legendary | Orange | Fruit Trader / Raids | 300-500 |
Accessories like the Wooden Shield and Marine Cap add percentage-based stat boosts rather than flat numbers, so they remain useful even when their base level is low. Always keep an accessory slot filled because the marginal stat gain per coin spent is much higher on accessories than on weapons at the same tier.
Reading the Map: Islands, Sea 1, and the Unlocks Ahead
The map is the second thing new players misunderstand, because Grand Blue structures progression around sea regions rather than a single open world. Sea 1 contains three islands, each gated by a level range and a boss kill, and the world design encourages back-and-forth travel rather than a one-way march.
Sea 1 Island Layout
| Island | Level Range | Key NPC | Unlock Requirement |
|---|---|---|---|
| Anchor Town | 1-30 | Almighty Calvin | None (starter zone) |
| Clown Town | 30-70 | Buggy the Star Clown | Defeat Axe-Hand Morgan |
| Maple Village | 70+ | Mayor Maple | Defeat Clown Island Boss |
Anchor Town is the safe hub with shops, banks, and the central quest board, so always return here to deposit coins and repair gear. Clown Town opens up PvP-enabled zones and a black market NPC who sells rare fruits at inflated prices. Maple Village is the endgame of Sea 1 and contains the first raid content, so you do not need to rush it. New players who want a deeper breakdown of island gating and NPC locations can read our Grand Blue island progression overview once they finish the Anchor Town loop.
Fast Travel, Boats, and Ship Combat
Once you have the Starter Dinghy from the level 10 quest, the open sea becomes a travel option, and ship combat unlocks at level 20 when you recruit your first mate. Ship battles use a top-down cannon mini-game, and winning one awards a small amount of doubloons plus a chance at a unique crew member who can be summoned as an AI ally on land. Most players ignore ship combat during the tutorial phase, but a quick skirmish every ten levels is a free source of XP and coins that stacks with the land grind.
Staying Efficient: Daily Loops, Codes, and Common Mistakes
A grand blue what to do first mindset quickly evolves into a daily routine once you understand the reset timers, because most activities are gated by either real-world time or in-game days. The fastest players treat login bonuses, daily quests, and fruit spawns as a single checklist rather than three separate tasks.
Building a Daily Login Routine
The most efficient first-hour of any play session looks like this: claim daily login rewards, check the Discord for newly released codes, redeem codes through the settings menu, then run the quest board, and finally farm the highest-XP zone you have unlocked. Codes such as RollWithIt, OmegaCode, PocketOfStars, GrandBlueCode, and NewYouNewCrew are typically distributed through the official Grand Blue Discord, so joining the server before you start grinding is one of the highest-value first-day actions.
Mistakes to Avoid in the First 30 Levels
The three mistakes that slow down new players the most are: selling legendary-tier weapons for quick coin, ignoring the accessory slot, and skipping the parry tutorial. Selling legendaries is tempting because early-game coin pressure is real, but a single legendary weapon at level 10 can carry you through level 40 if its stat budget is high. The accessory slot is free power, and the parry tutorial teaches the single most important defensive skill because parrying a red-flash attack refunds stamina and stuns the enemy, which is the only reliable counter to Sea 1 boss enrage mechanics. A more complete list of solo-leveling mistakes is in our Grand Blue farming and solo guide, which covers late-game progression in the same depth.
Frequently Asked Questions
What should a brand new player do first in Grand Blue?
Your first ten minutes should be spent finishing the Wizard's Apprentice quest from Almighty Calvin to secure a starter Cursed Fruit, buying the Iron Cutlass from the Anchor Town shop, and clearing the quest board once. This is the cleanest grand blue what to do first path because it front-loads XP, gear, and a permanent skill unlock before you waste time on side content.
Which fighting style is best for beginners?
Novice Swordsman is the most beginner-friendly style because its three-hit string has a forgiving timing window and its mid-range pokes let you learn spacing before committing to melee. Once you reach level 30 and have a second style slot, you can add Marksman for ranged support without resetting your build.
How long does it take to reach level 30 in Sea 1?
Most players reach level 30 in roughly 4-6 hours of focused play by following the Anchor Town grind path of daily quests, Grunt camps, and the Calvin rematch. Skipping the grind and rushing Axe-Hand Morgan usually results in repeated deaths and a longer total time because boss runs reset your progress.
Do I need to join the Discord to progress?
You do not need the Discord to progress, but the codes shared there accelerate early-game power by giving free stat boosts, coin bundles, and rare fruits. Joining the official Grand Blue Discord is a free ten-minute action that pays back dozens of hours of grinding.
Can I switch fighting styles later without losing progress?
Yes, you can switch styles through the respec vendor in Anchor Town, but the cost scales with how many style levels you have banked, and the very first respec is the cheapest. Our Grand Blue endgame and stat reset guide covers the exact respec cost curve and the best moment in a playthrough to commit to a final build.